How-To Guide
Exporting Certificates
Step-by-step instructions for Windows 11 and macOS Sequoia.
You may need to export your digital certificate to back it up, share it with your accountant, or move it to another device. The exported file (.pfx or .p12) contains your certificate and private key — keep it secure and password-protected.
1
Open Certificate Management Console
- › Click the Start menu, type
certmgr.msc, and press Enter. - › In the console tree, navigate to Certificates — Current User > Personal > Certificates.
2
Select and Export
- › Right-click the certificate you want to export.
- › Select All Tasks > Export.
- › The Certificate Export Wizard will open.
3
Complete the Export Wizard
- › Welcome screen: Click Next.
- › Export Private Key: Choose "Yes, export the private key" and click Next.
- › File Format: Select "Personal Information Exchange — PKCS#12 (.PFX)" and click Next.
- › Include Certificates: Check "Include all certificates in the certification path if possible" and "Export all extended properties".
- › Password: Enter a password to protect the certificate, then click Next.
- › File Location: Click Browse, choose a save location for the
.pfxfile. - › Click Finish. You will see a confirmation — click OK.

1
Open Keychain Access
- › Launch Keychain Access from Applications > Utilities.
2
Locate the Certificate
- › Click the Login keychain (under Keychains on the left).
- › Select the My Certificates category.
- › Find the certificate you want to export — usually named after the issuing authority.
3
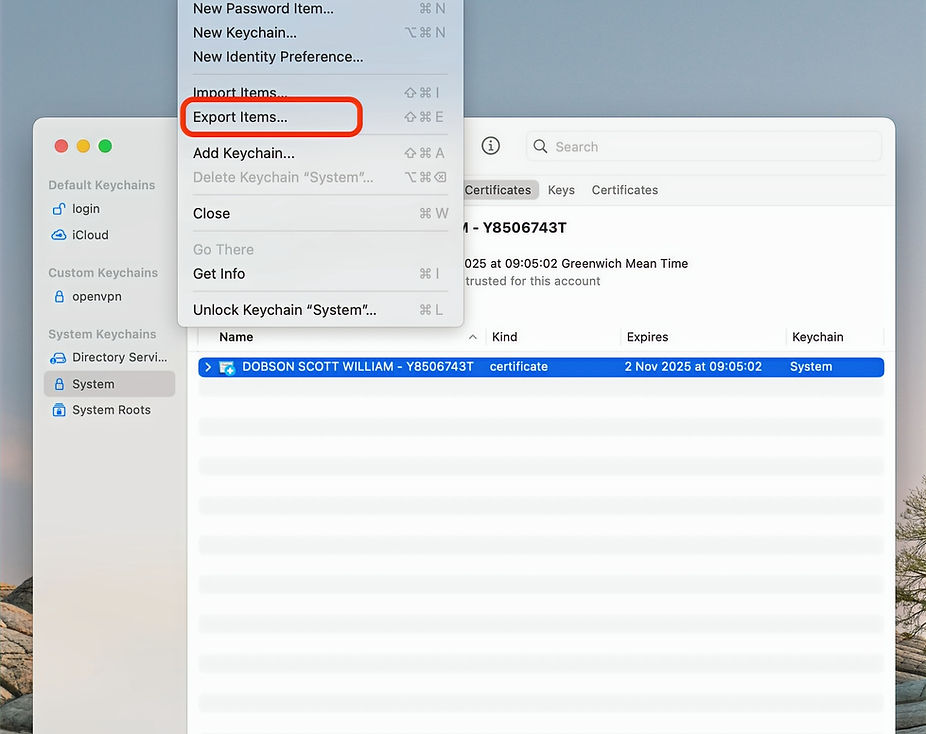
Export the Certificate
- › Right-click (or Control-click) the certificate.
- › Choose a file format — usually
.p12or.pfx. - › Select a save location and give the file a clear name.
4
Set a Password
- › When prompted, create a password to protect the exported file.
- › This password will be required when importing the certificate elsewhere.
- › Click OK to complete the export.